Code
library(usethis)
library(gitcreds)This class relies on several tools that you may not be used to: an online instance of RStudio, git, and GitHub classroom. We’ll talk more about about git and GitHub in our next class. For now the focus is on getting you familiar with the RStudio server and the way that GitHub classroom works.
Rstudio is what’s called an Integrated Development Environment (IDE). That’s a fancy way of saying that you can write code, run code, and view the outputs of code all in one place. There are other options (VSCode seems to be a popular one), but this one is designed for use specifically with the R program language, is pretty stable, and has lots of other features that we might want to use. Also, it’s free!!
Rstudio requires that a working version of R (to actually execute the code) along with a program to process graphics (usually XQuartz) and a suite of compilers to allow for various packages and functions to work (these are often a part of Rtools or Xcode). You should be able to install all of these on your laptop for your own work. We are going to skip all of that and use an RStudio server. While that might rob you of the joy of installing R on your own (though you probably should do that anyway), it ensures that everyone is using the exact same version of packages, operating system, and underlying architecture. This, in turn, should make it easier for us to work together to troubleshoot when we run into problems.
Because our server runs on a Boise State instance of Amazon Web Services, you’ll need to have credentials to login. Because we may update packages or underlying data periodically throughout the course, your credentials may change in between logins. As such, you’ll need to go here before logging into the server to refresh your credentials and make sure you’re updating the current version.
Rstudio serverYou should be able to get to our server by clicking this link or the in the upper right corner of the webpage. Once you’ve clicked that you should see: 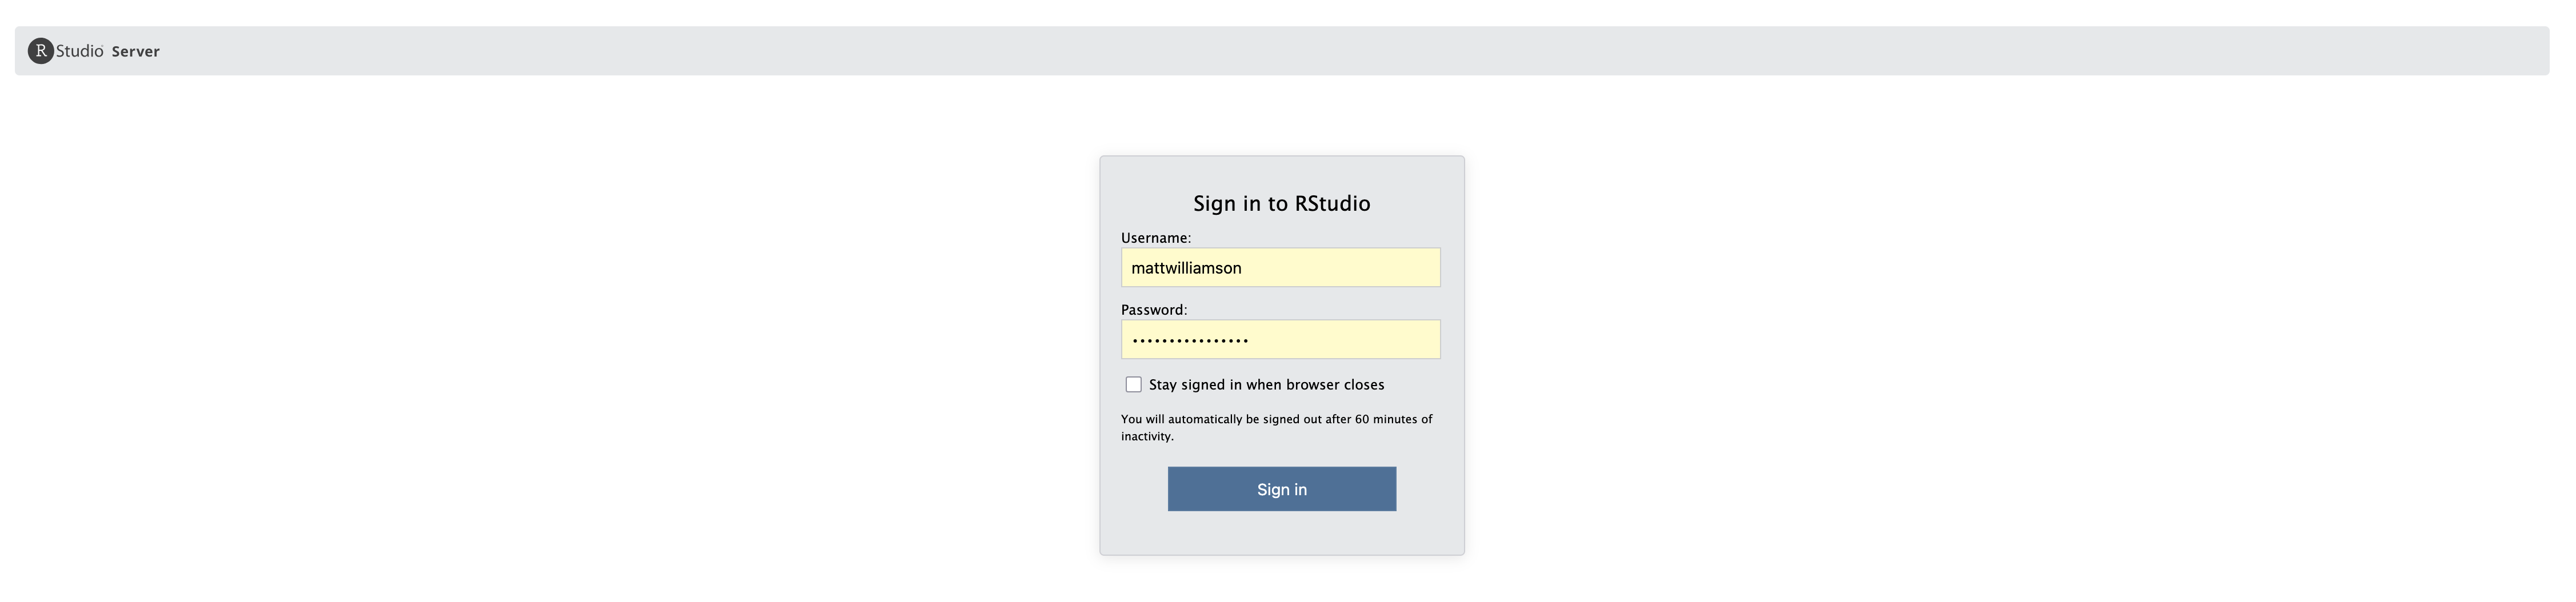 Assuming you followed the instructions in the previous step to get your credentials, you can enter them here and click
 Sign In. You should now see the main Rstudio environment. 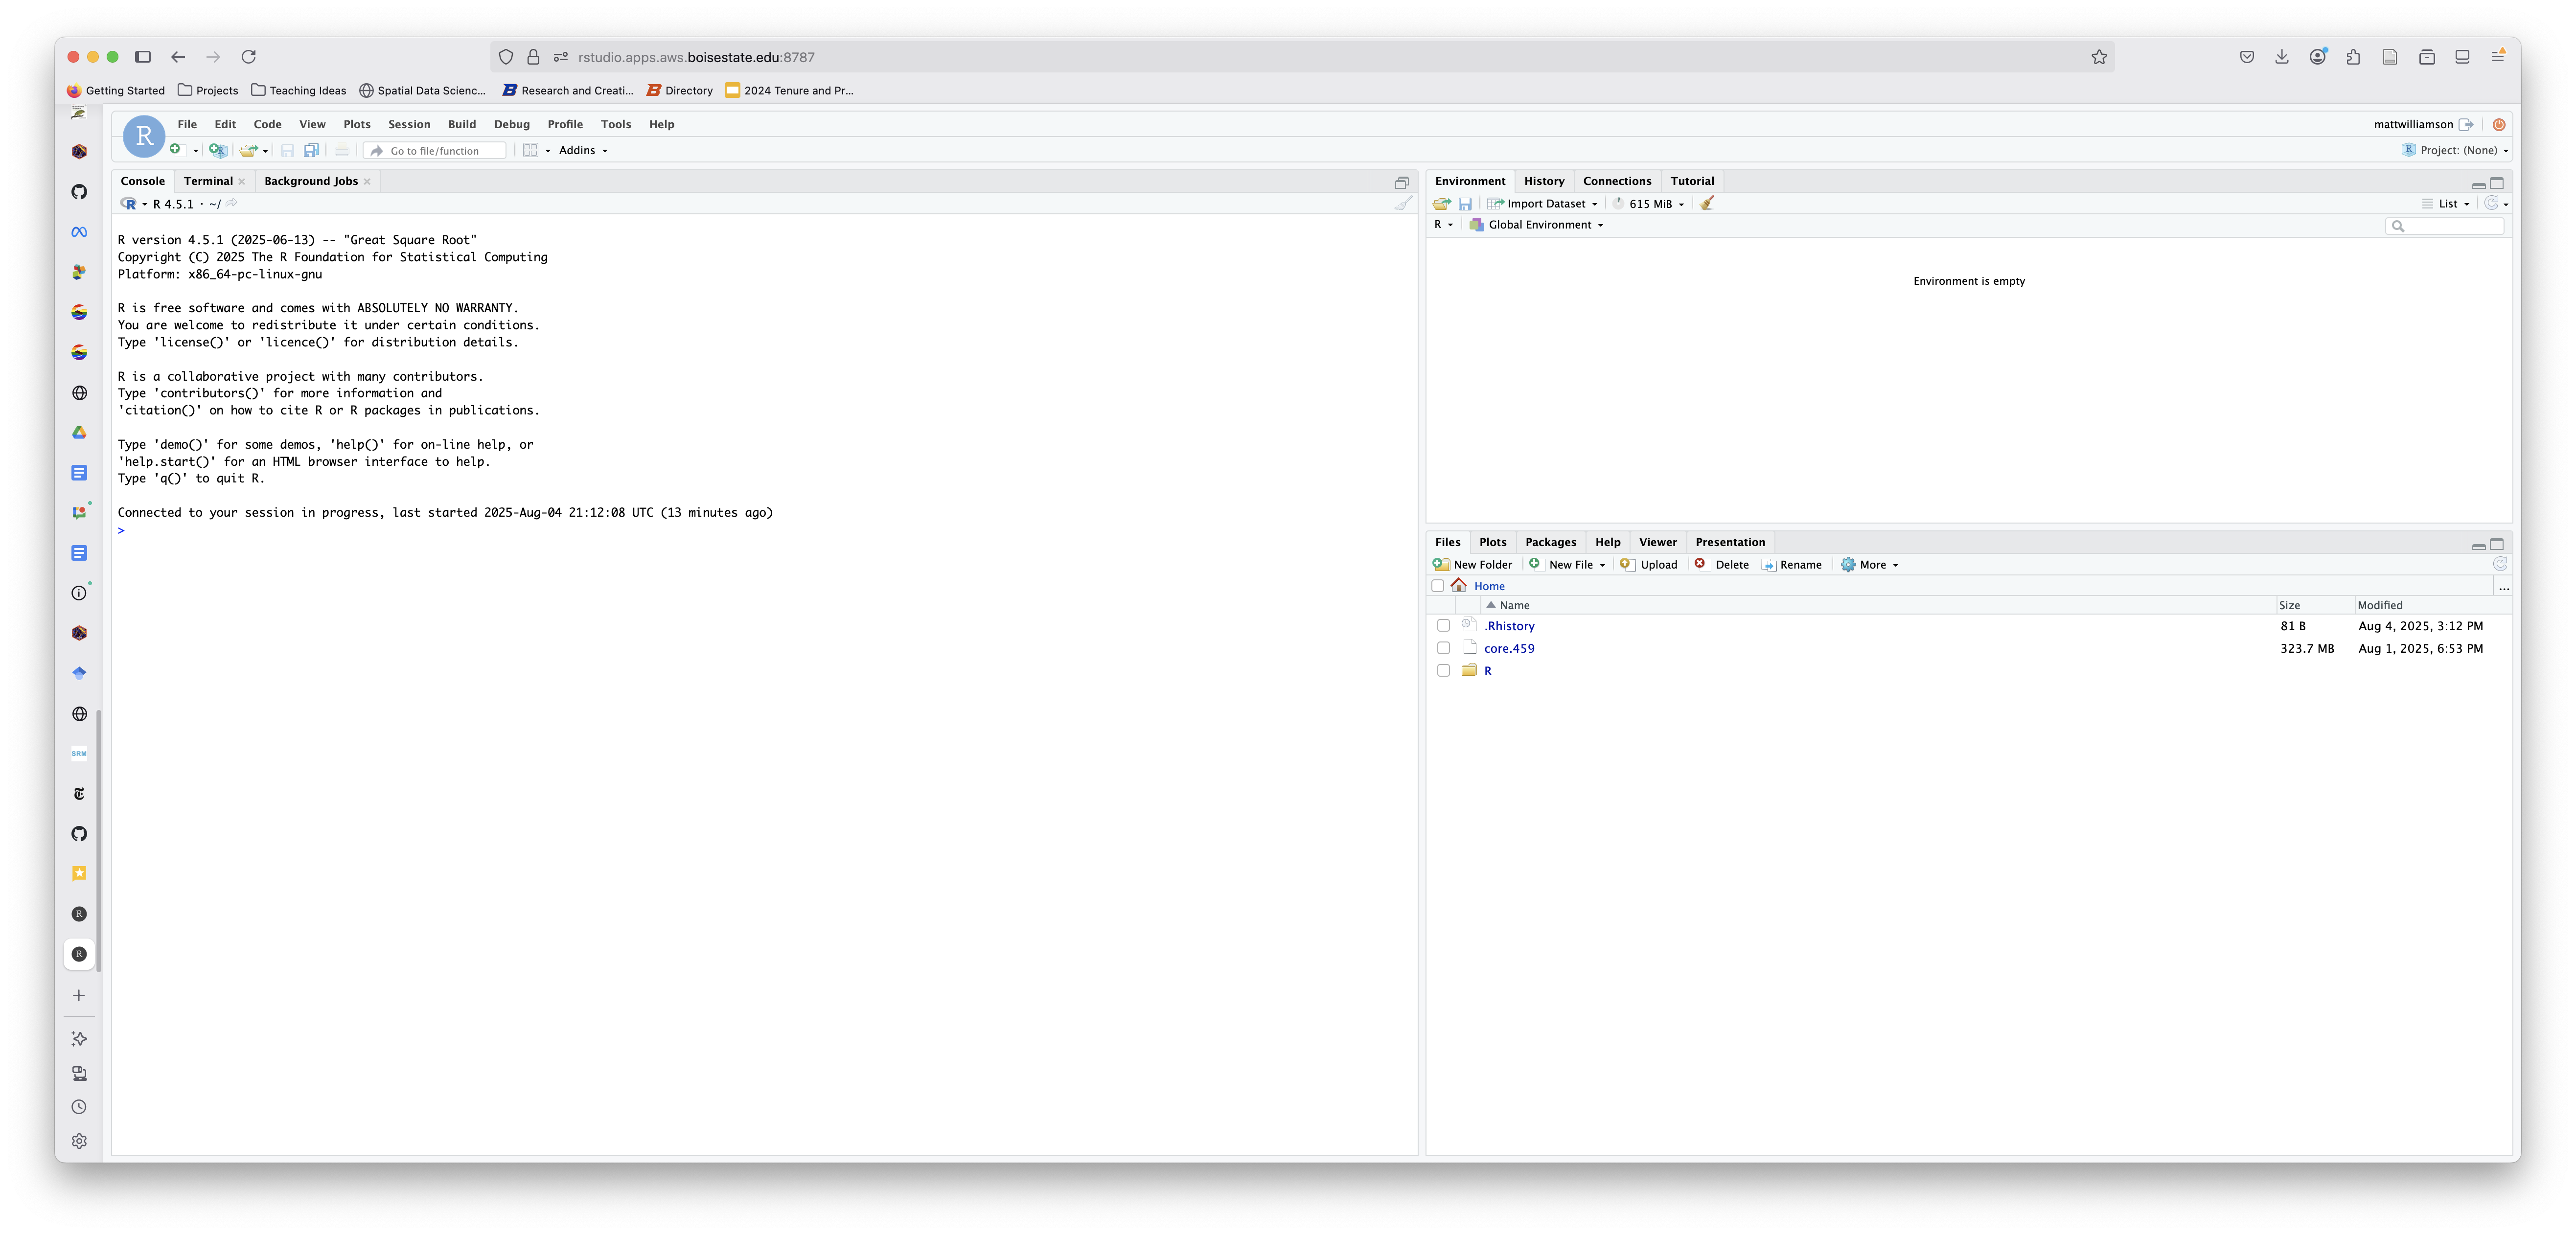
Now that you’re in Rstudio you’ll need to introduce yourself!
There are lots of ways to do this (check out Jenny Bryan’s happygitwithr webpage if you want to learn more), but we’ll do this the easy way.
First, you’ll need to load two packages. Packages are pre-compiled sets of functions designed to do a handful of related tasks. You’ll learn more about these in the coming weeks, but for now you just need to know that a) the packages should already be downloaded on the server, b) you can load them with the library() command (or you can call functions explicitly by using packagename::functionname), and c) you need to know the name. For this portion, you’ll need the usethis and gitcreds packages. Let’s load them now:
library(usethis)
library(gitcreds)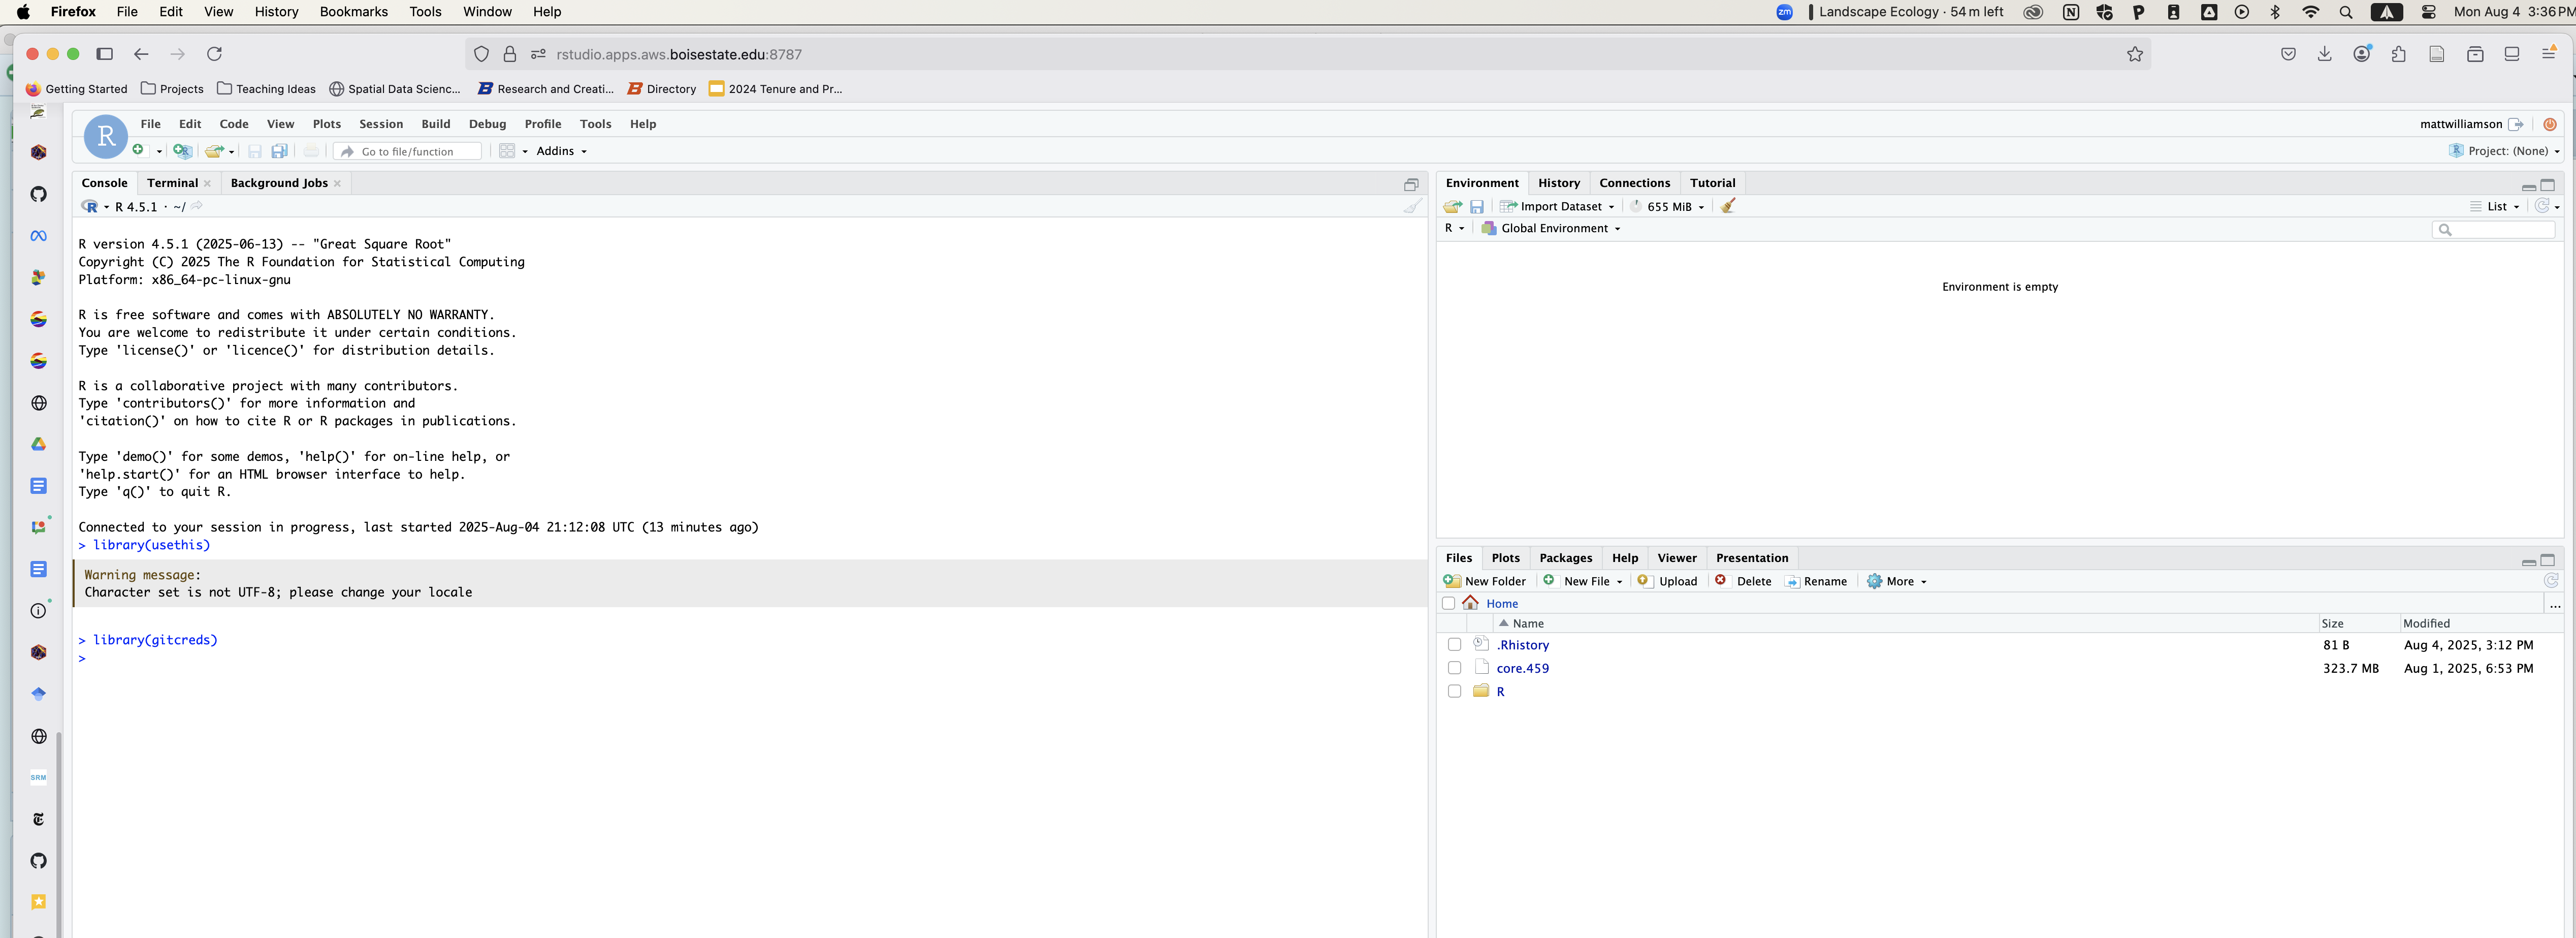
You’ll notice that nothing really happens. That’s ok! Now we’re going to introduce github account to Rstudio.
The first step is to include your username and email (this should be your GitHub username and the email associated with your GitHub account)
use_git_config(user.name = "Jane Doe", user.email = "jane@example.org") # your info here
#OR
usethis::use_git_config(user.name = "Jane Doe", user.email = "jane@example.org")
Once you do that, you’ll need to supply your personal access token (PAT). If you don’t have one, you can run the following command and it will take you to GitHub to generate a token. You need to save this somewhere that you’ll be able to access it again. If you don’t, you’ll be doing this step A LOT. If you already have a PAT, skip this step!
usethis::create_github_token()Once you’ve got your PAT (and copied it to a place that you won’t lose it), you can run the following to add it to your Rstudio session. Note that this will timeout after an hour unless you do a few more steps.
gitcreds::gitcreds_set()Finally, you can make sure that everything is stored and ready to go by running:
gitcreds::gitcreds_get()You should see that you’ve successfully stored your credential.
In general, it’s better to rely on a secure password manager (like MacOS Keychain or 1Password) to hold onto your PAT. Unfortunately, Linux (which our server runs) doesn’t have one of these. As a workaround to prevent frustration with git errors you can do 1 of 2 things.
The first option is to change your global git preferences, which you can do by switching to the terminal tab in Rstudio and entering the following:
git config --global credential.helper 'cache --timeout=10000000'
Alternatively, you can edit your .Renviron file to store your token there. You can open the file for editing by running:
usethis::edit_r_environ()Running this should open a new pane in Rstudio above the console with a blank txt file that you can edit: 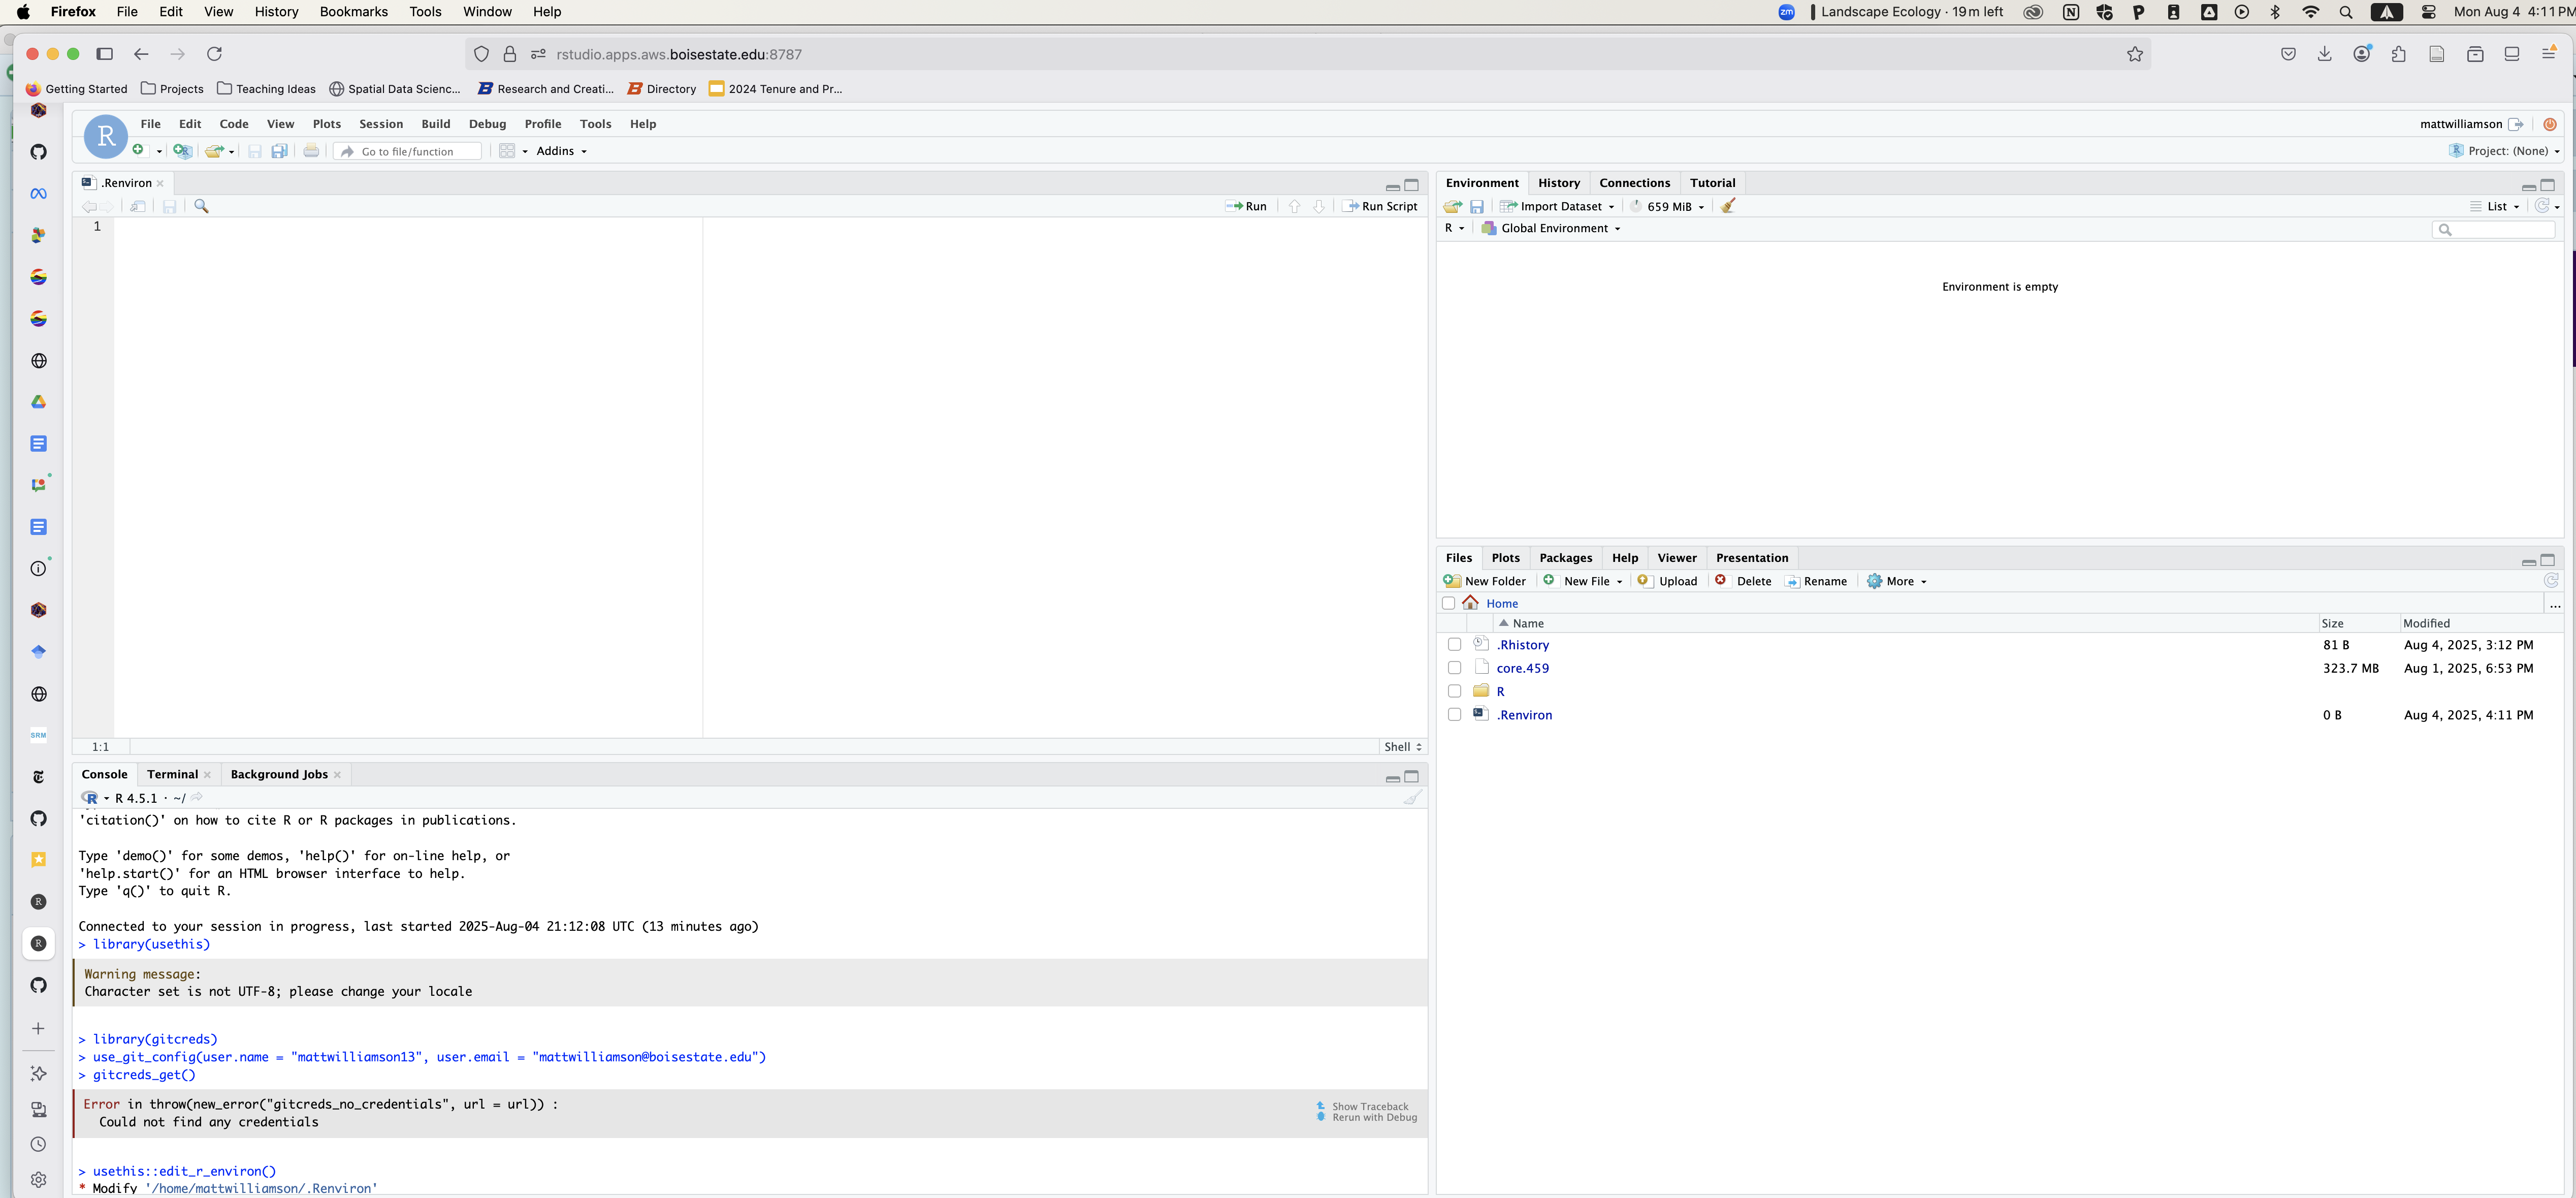
You can then paste the following (with your PAT instead of the XXXs) into that file, add a line after, and save. Note: you have to add a newline after you enter your PAT
Make sure you don’t upload this
.Renvironfile to a place where others can find/see it (like Google Drive, GitHub, or your Instagram)
GITHUB_PAT=ghp_xxxxxxxxxxxxxxxxxxxxxxxxxxxxxxxxxxxxBecause version control is key to both coding efficiency and reproducible workflows, we are going to use GitHub classroom (GHC) to manage assignments in this class. GitHub classroom allows me to provide you with a repository that contains any necessary functions, data, and instructions that you can then clone, modify to complete the assignment, and then submit back to me. It can be a little clunky at first, but today is supposed to help get passed that initial frustration. **If you’re already used to GitHub, this should be pretty easy. If you’re not, we’ll do a quick walk-through today so you can get a sense of how it works.
The basic steps are: 1. I’ll share the link with you to the assignment. 2. GHC creates a clone of the assignment repo inside of your GitHub account 3. You’ll bring this repository into your Rstudio environment (we’ll do this Weds) 4. You’ll make changes, store them with commits (again, on Weds), and push them back up to your repository 5. I’ll be able to access all of your files and code for grading and code review.